
In this tutorial, we’ll take a look at how to create a ListView using Sqflite in Flutter. In the previous article on Sqflite in Flutter, we saw how to build a simple todo application using Sqflite.
Since then, I’ve gotten a lot of requests to create an article on how to build a listview using Sqflite. So, in this tutorial, I’ll extend the same application to build a listview using sqflite database.
If you haven’t checked out the previous article, I highly recommend doing it, as we’ll be building upon that article itself: Using SQLite in Flutter
Creating a new screen
Go ahead and create the application from the previous part here.
We’ll be adding one more screen to display the list of items added. It can be accessed via a button on the toolbar on the top. Create the button in your AppBar as shown below:
appBar: AppBar(
  title: Text(widget.title),
  actions: <Widget>[
    IconButton(
      icon: Icon(Icons.favorite),
      onPressed: null,
    )
  ],
)
In order to add a new screen, first create a file called, favourite_screen.dart and create a stateful widget inside it:
import 'package:flutter/material.dart';


class FavouritesScreen extends StatefulWidget {
  static const routeName = '/favourites';

  @override
  _FavouritesScreenState createState() => _FavouritesScreenState();
}

class _FavouritesScreenState extends State<FavouritesScreen> {


}
Setting up Navigation
Now, setting up navigation is a whole another post in itself, but we’ll focus this article on creating a ListView using Sqflite only. So, just setup the navigation as shown below inside your MaterialApp widget in main.dart
class MyApp extends StatelessWidget {
  @override
  Widget build(BuildContext context) {
    return MaterialApp(
      title: 'Flutter Demo',
      theme: ThemeData(
        primarySwatch: Colors.blue,
        visualDensity: VisualDensity.adaptivePlatformDensity,
      ),
      home: MyHomePage(title: 'Listify'),
      routes: {
        FavouritesScreen.routeName: (ctx) => FavouritesScreen(), // setting up routes
      },
    );
  }
}
Now whenever the user clicks on the favourites button on the top, we’ll navigate to the screen as shown:
IconButton(
  icon: Icon(Icons.favorite),
  onPressed: () =>
      Navigator.of(context).pushNamed(FavouritesScreen.routeName),
)
Fetching data from Sqflite
Now comes the meaty part. We’ve to get the data from the Sqflite database and populate in the listview. For fetching the data we’ll use SqliteDatabaseHelper from the previous tutorial.
The best place to get the data is inside the initState method. This is where the setup should happen before the screen is painted. We’ll store the data in a class property called taskList.
class _FavouritesScreenState extends State<FavouritesScreen> {
  List<Todo> taskList = new List();

  @override
  void initState() {
    super.initState();

    DatabaseHelper.instance.queryAllRows().then((value) {
      setState(() {
        value.forEach((element) {
          taskList.add(Todo(id: element['id'], title: element["title"]));
        });
      });
    }).catchError((error) {
      print(error);
    });
  }

...
Creating the ListView
To create the ListView using Sqflite we’ll be using the builder pattern. Here’s how we do it:
@override
Widget build(BuildContext context) {
  return Scaffold(
    appBar: AppBar(
      title: Text("Favourites"),
    ),
    body: Container(
      child: ListView.builder(itemBuilder: (ctx, index) {
        if (index == taskList.length) return null;
        return ListTile(
          title: Text(taskList[index].title),
          leading: Text(taskList[index].id.toString()),
        );
      }),
    ),
  );
}
You can also choose to display something else in case the list is empty, but here we’ll just stick to the non-empty case.
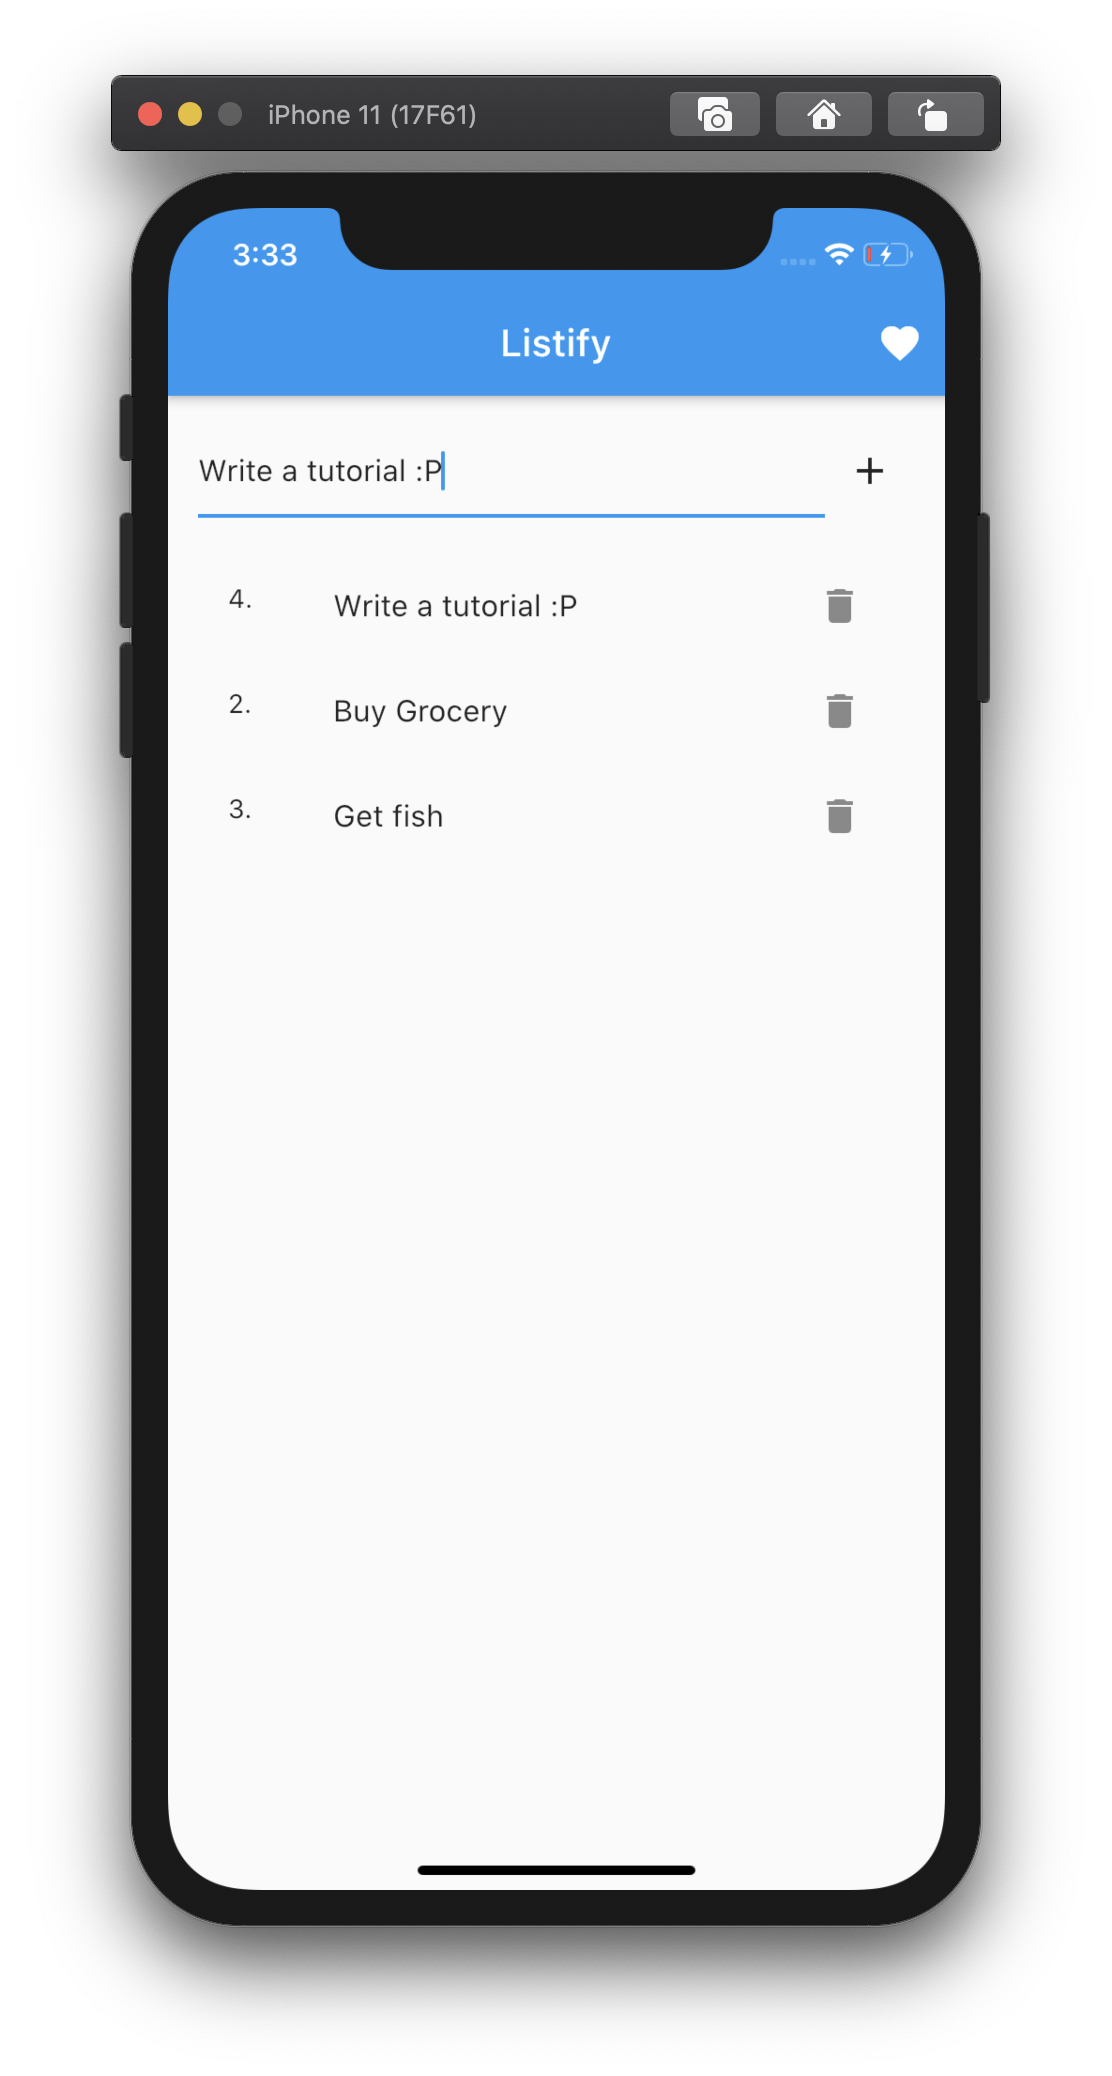
Let’s go ahead and test our application:
So that’s it. It’s really easy to create a listview us sqflite in flutter. Let me know if you still run into any issues, in the comments section below 🙂
Welcome to AndroidVille 🙂
AndroidVille is a community of Mobile Developers where we share knowledge related to Android Development, Flutter Development, React Native Tutorials, Java, Kotlin and much more.
We have a SLACK workspace where we share updates related to new job opportunities, articles on Mobile Development/updates from the industry. We also have channels to help you with any questions, dev-help that you require. Just post a question and people would be ready to help you out 🙂
Click on this link to join the AndroidVille SLACK workspace. It’s absolutely free!
If you like any article, do give it a share on Facebook, Linkedin. You can follow me on LinkedIn, Twitter, Quora, and Medium where I answer questions related to Mobile Development, especially Android and Flutter.
If you want to stay updated with all the latest articles, subscribe to the weekly newsletter by entering your email address in the form on the top right section of this page.